Skateboards
08/17 - present

Skills utilized:
Woodworking
Fusion 360
CAM and CNC
3D Printing (FDM)
Welding (TIG)
Structural analysis
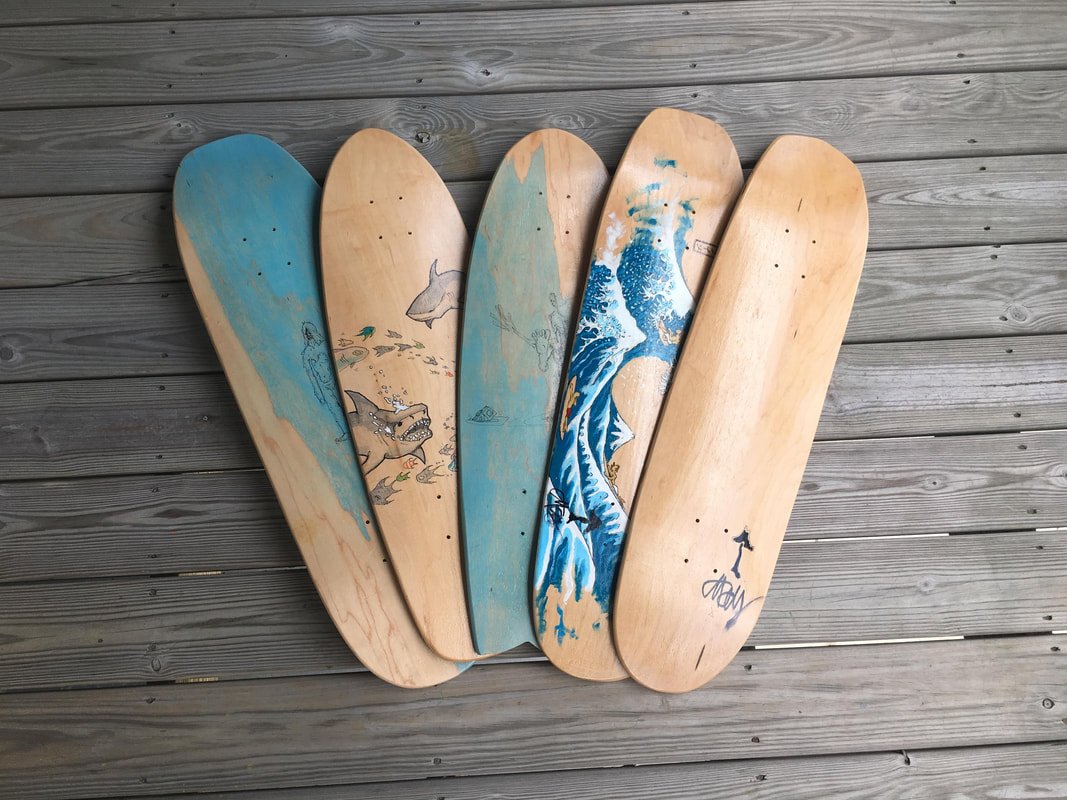
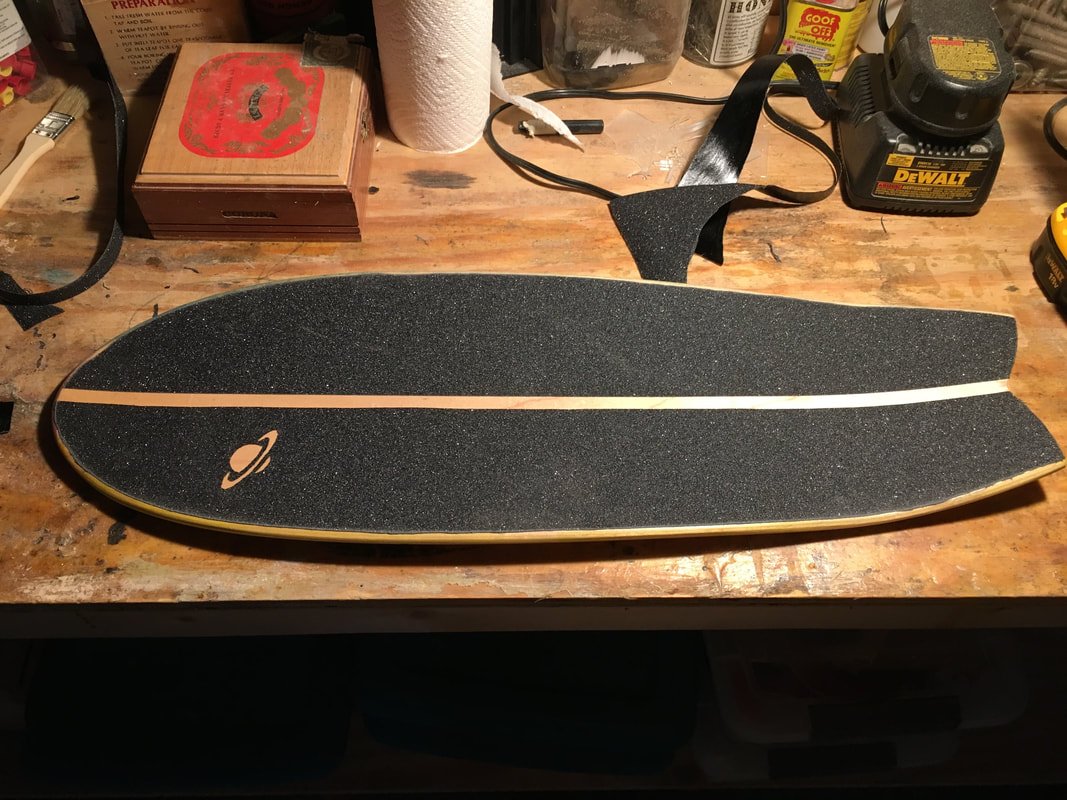
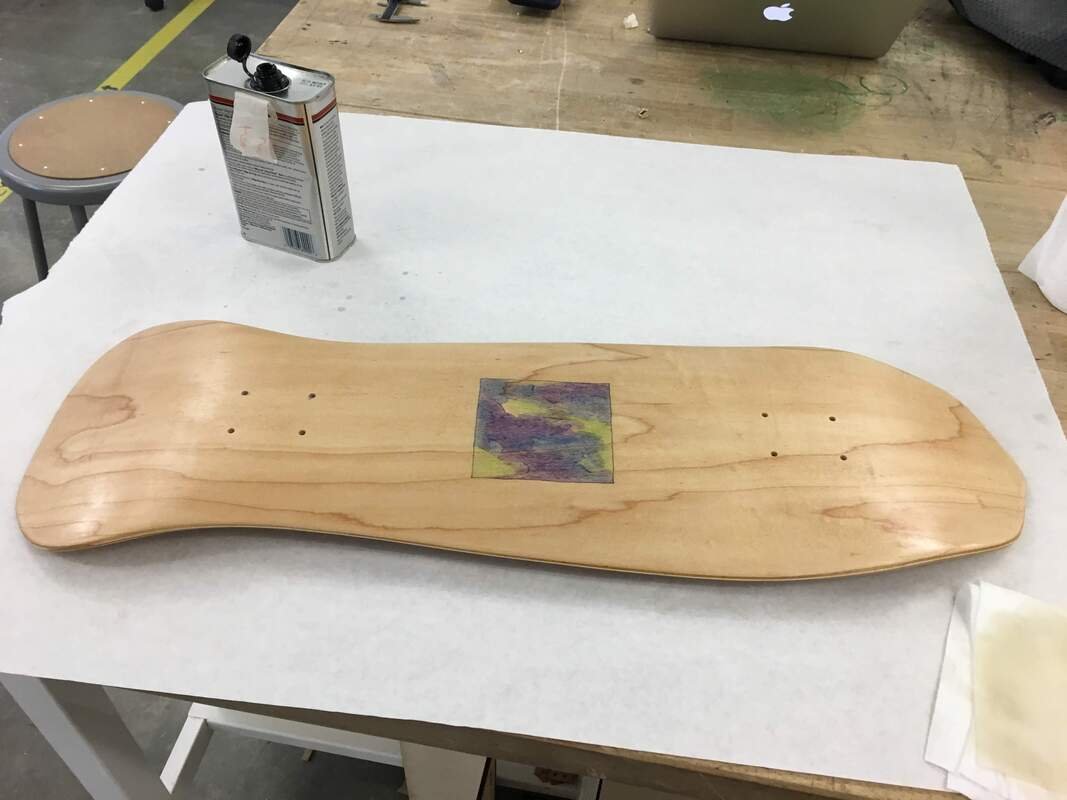
I started making longboards with my father at a young age. I loved it, being able to create something of my own imagination that I could then ride freely. It's an art that extends beyond the normal "create and observe" template. Recently, I have regained inspiration to start creating full trick skateboard decks, which have a deeper concave and tighter structural requirements. It proved to be a much more difficult process, but quite a fulfilling one as I get to make rideable creation for myself and my friends.
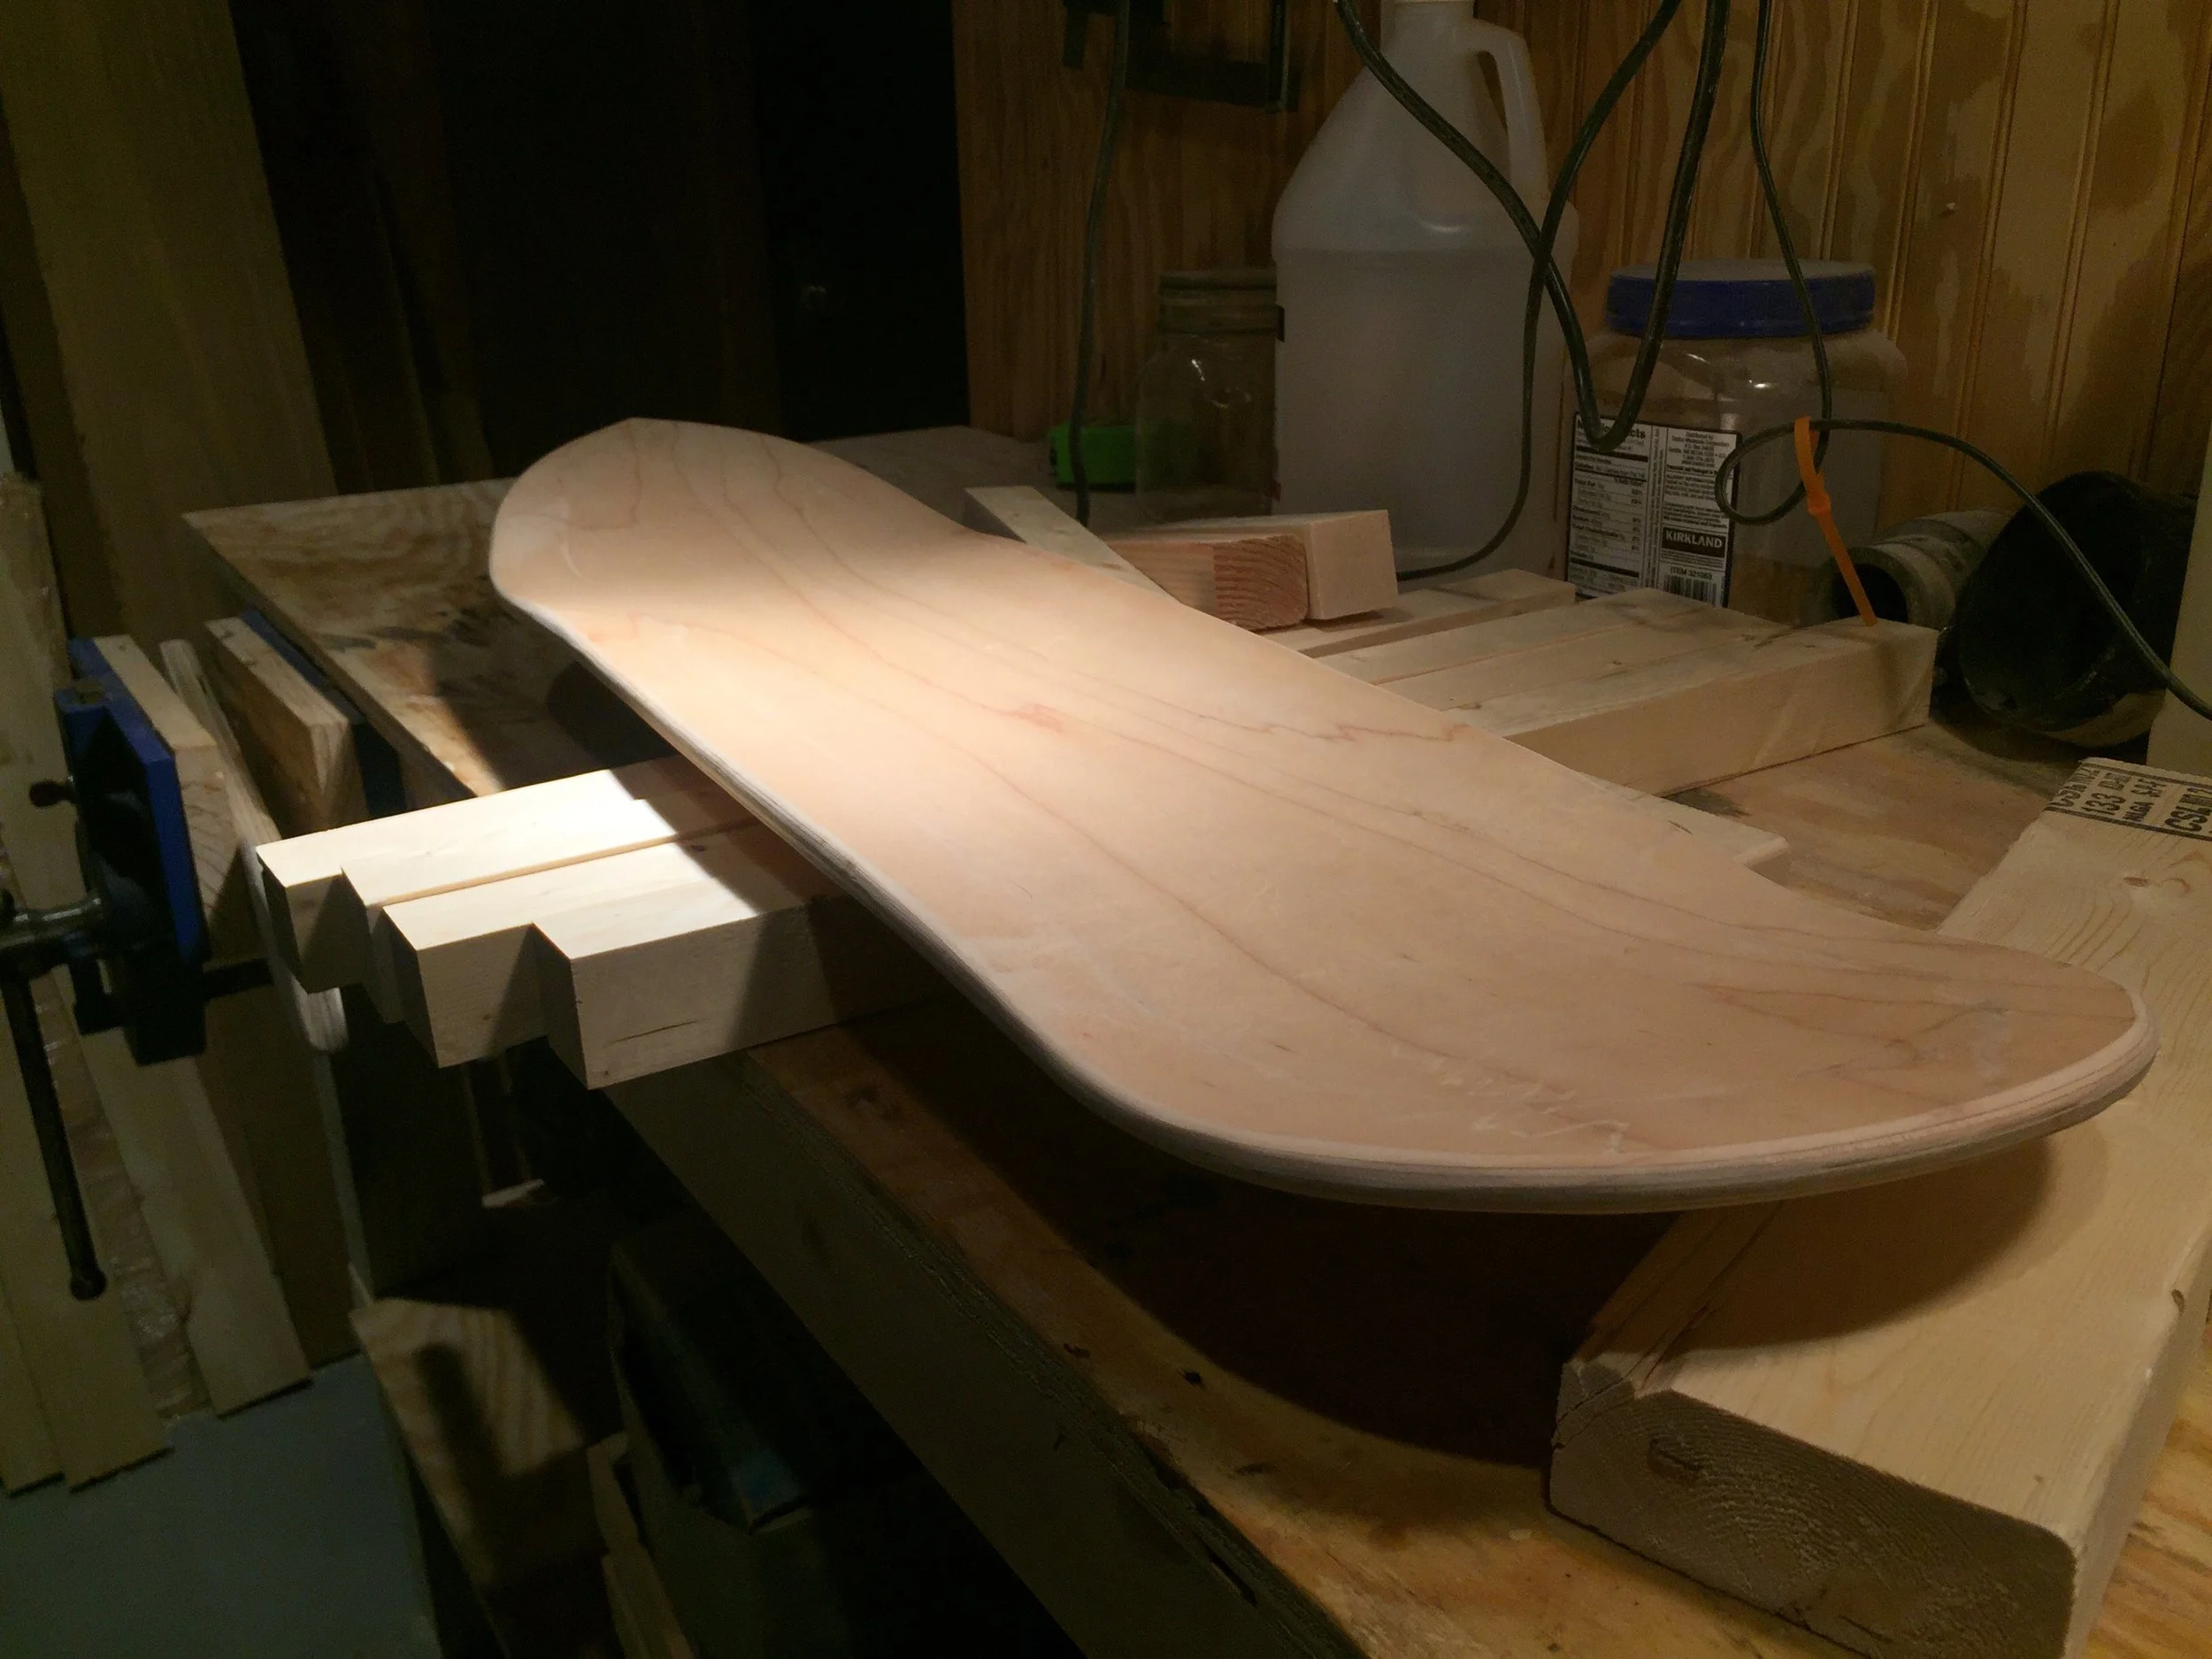
Cutting the shape by hand


Design and Manufacturing
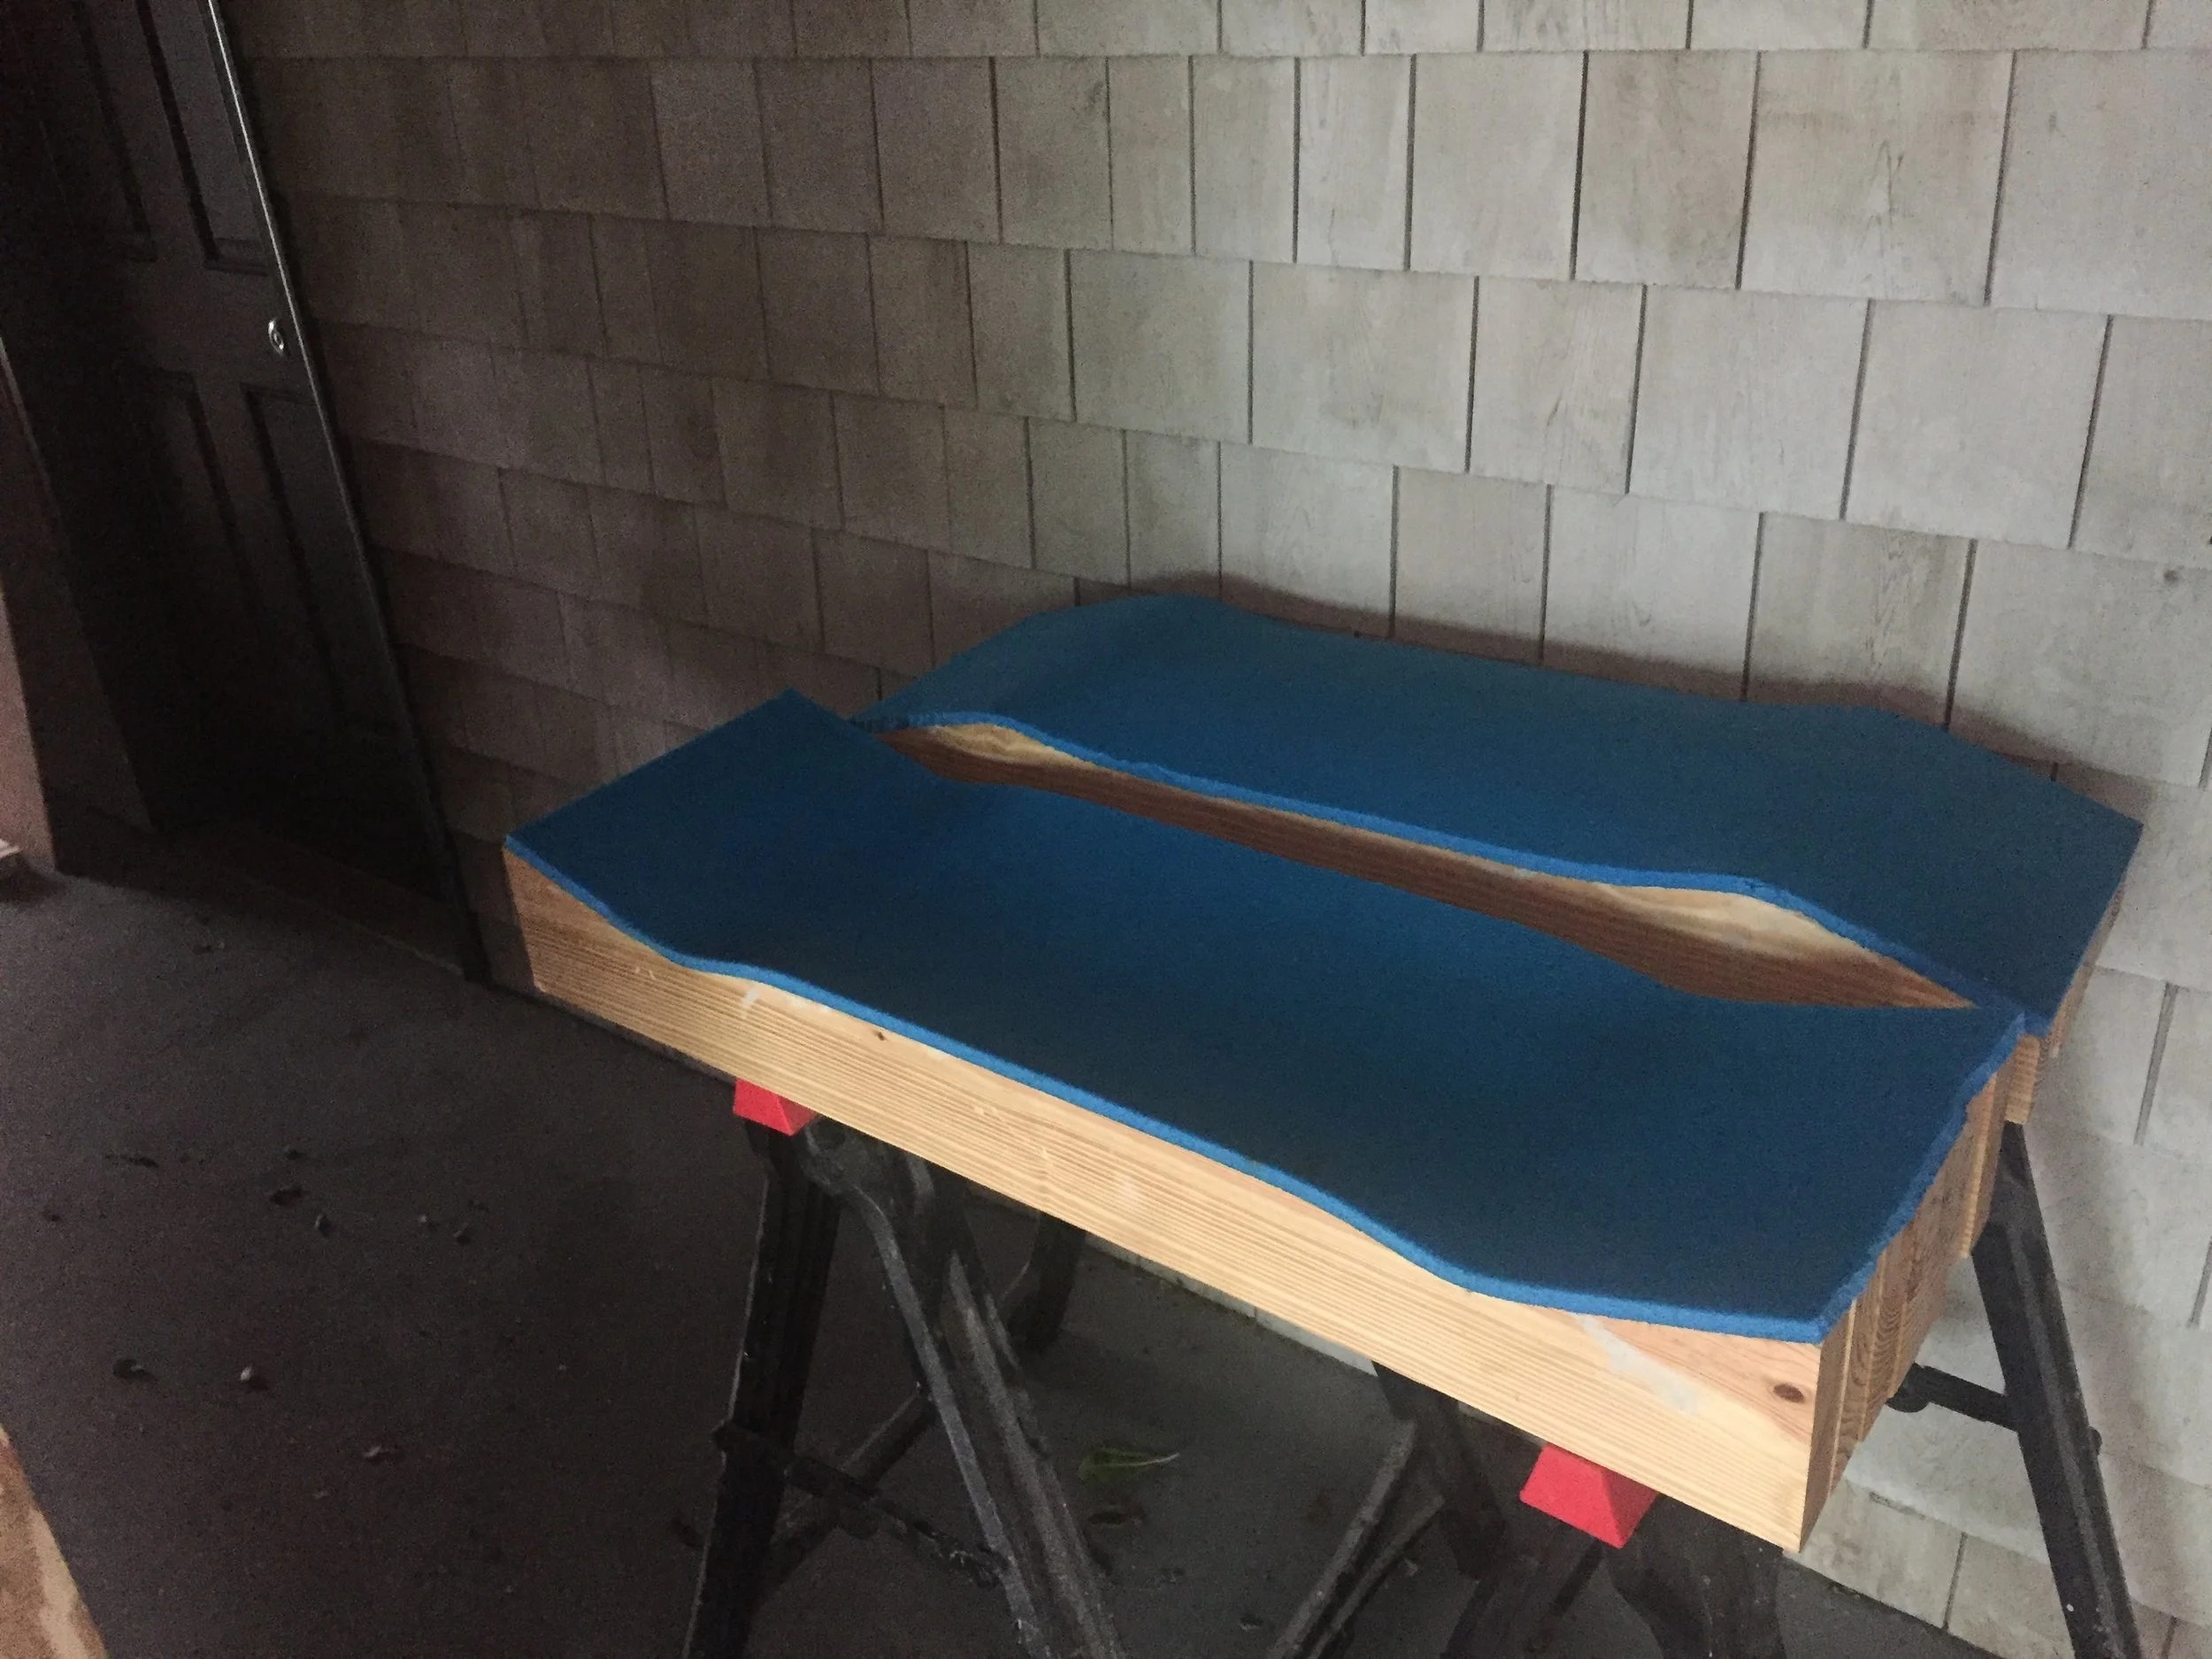
Pressing the blank
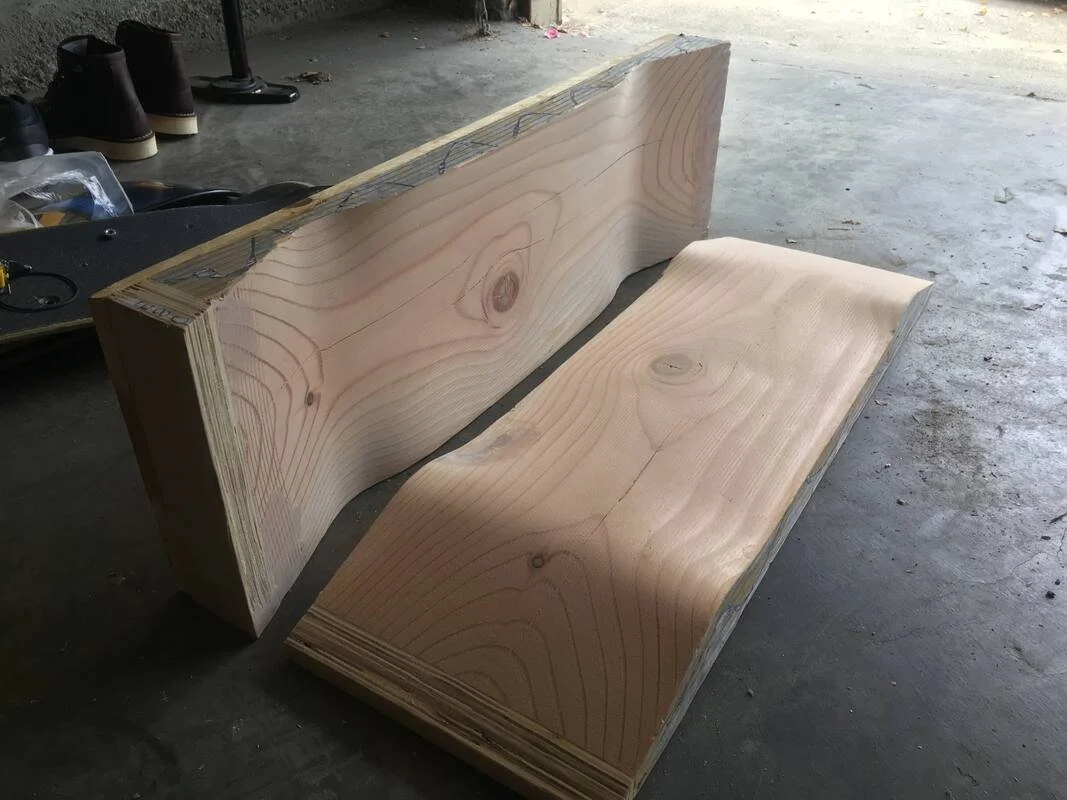
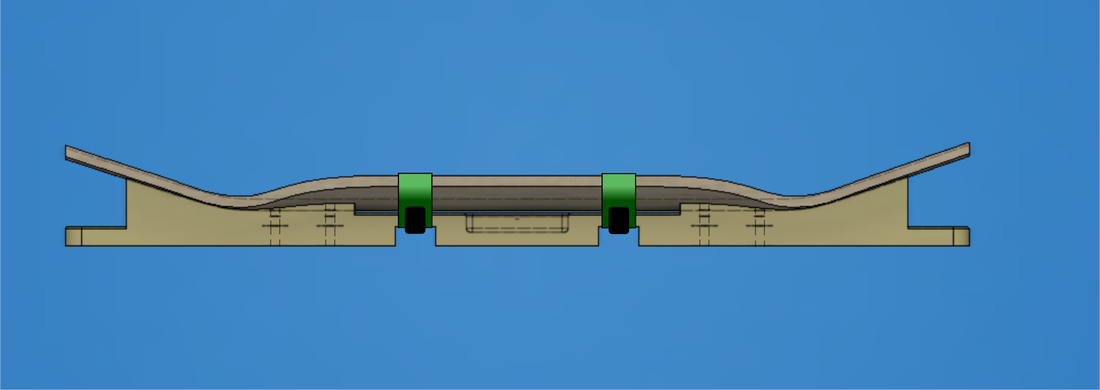
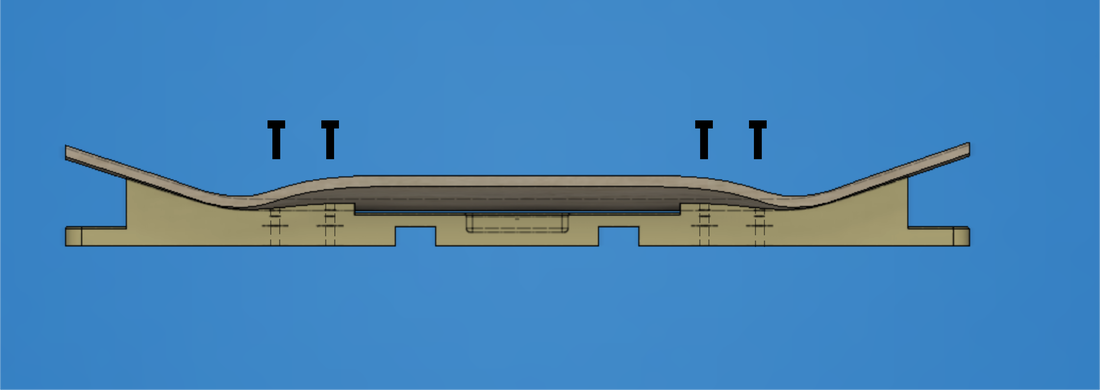
To make a skateboard, a press is needed with the positive and negative contours of the deck. When the plies are compressed under pressure, the contours are remain and you are left with a blank. The first iteration (right) for the skateboard press was designed using Google SketchUp, then hand cut and sanded from 2x8 boards.
The second iteration (below) was designed in Fusion 360, allowing it to be parametric for future modification. CNC instructions were generated for it using Fusion CAM software. It was then cut on the Shopbot CNC. I wanted to make the frame as simple and portable as possible (because I am a college student, so I'm always moving), so I decided to use stiff climbing rope to hold the force from the pump jacks. To make this work, I had to weld a custom frame for the wooden mold to disperse the force. I also 3D printed caps for the pump jack to hold the rope in place.
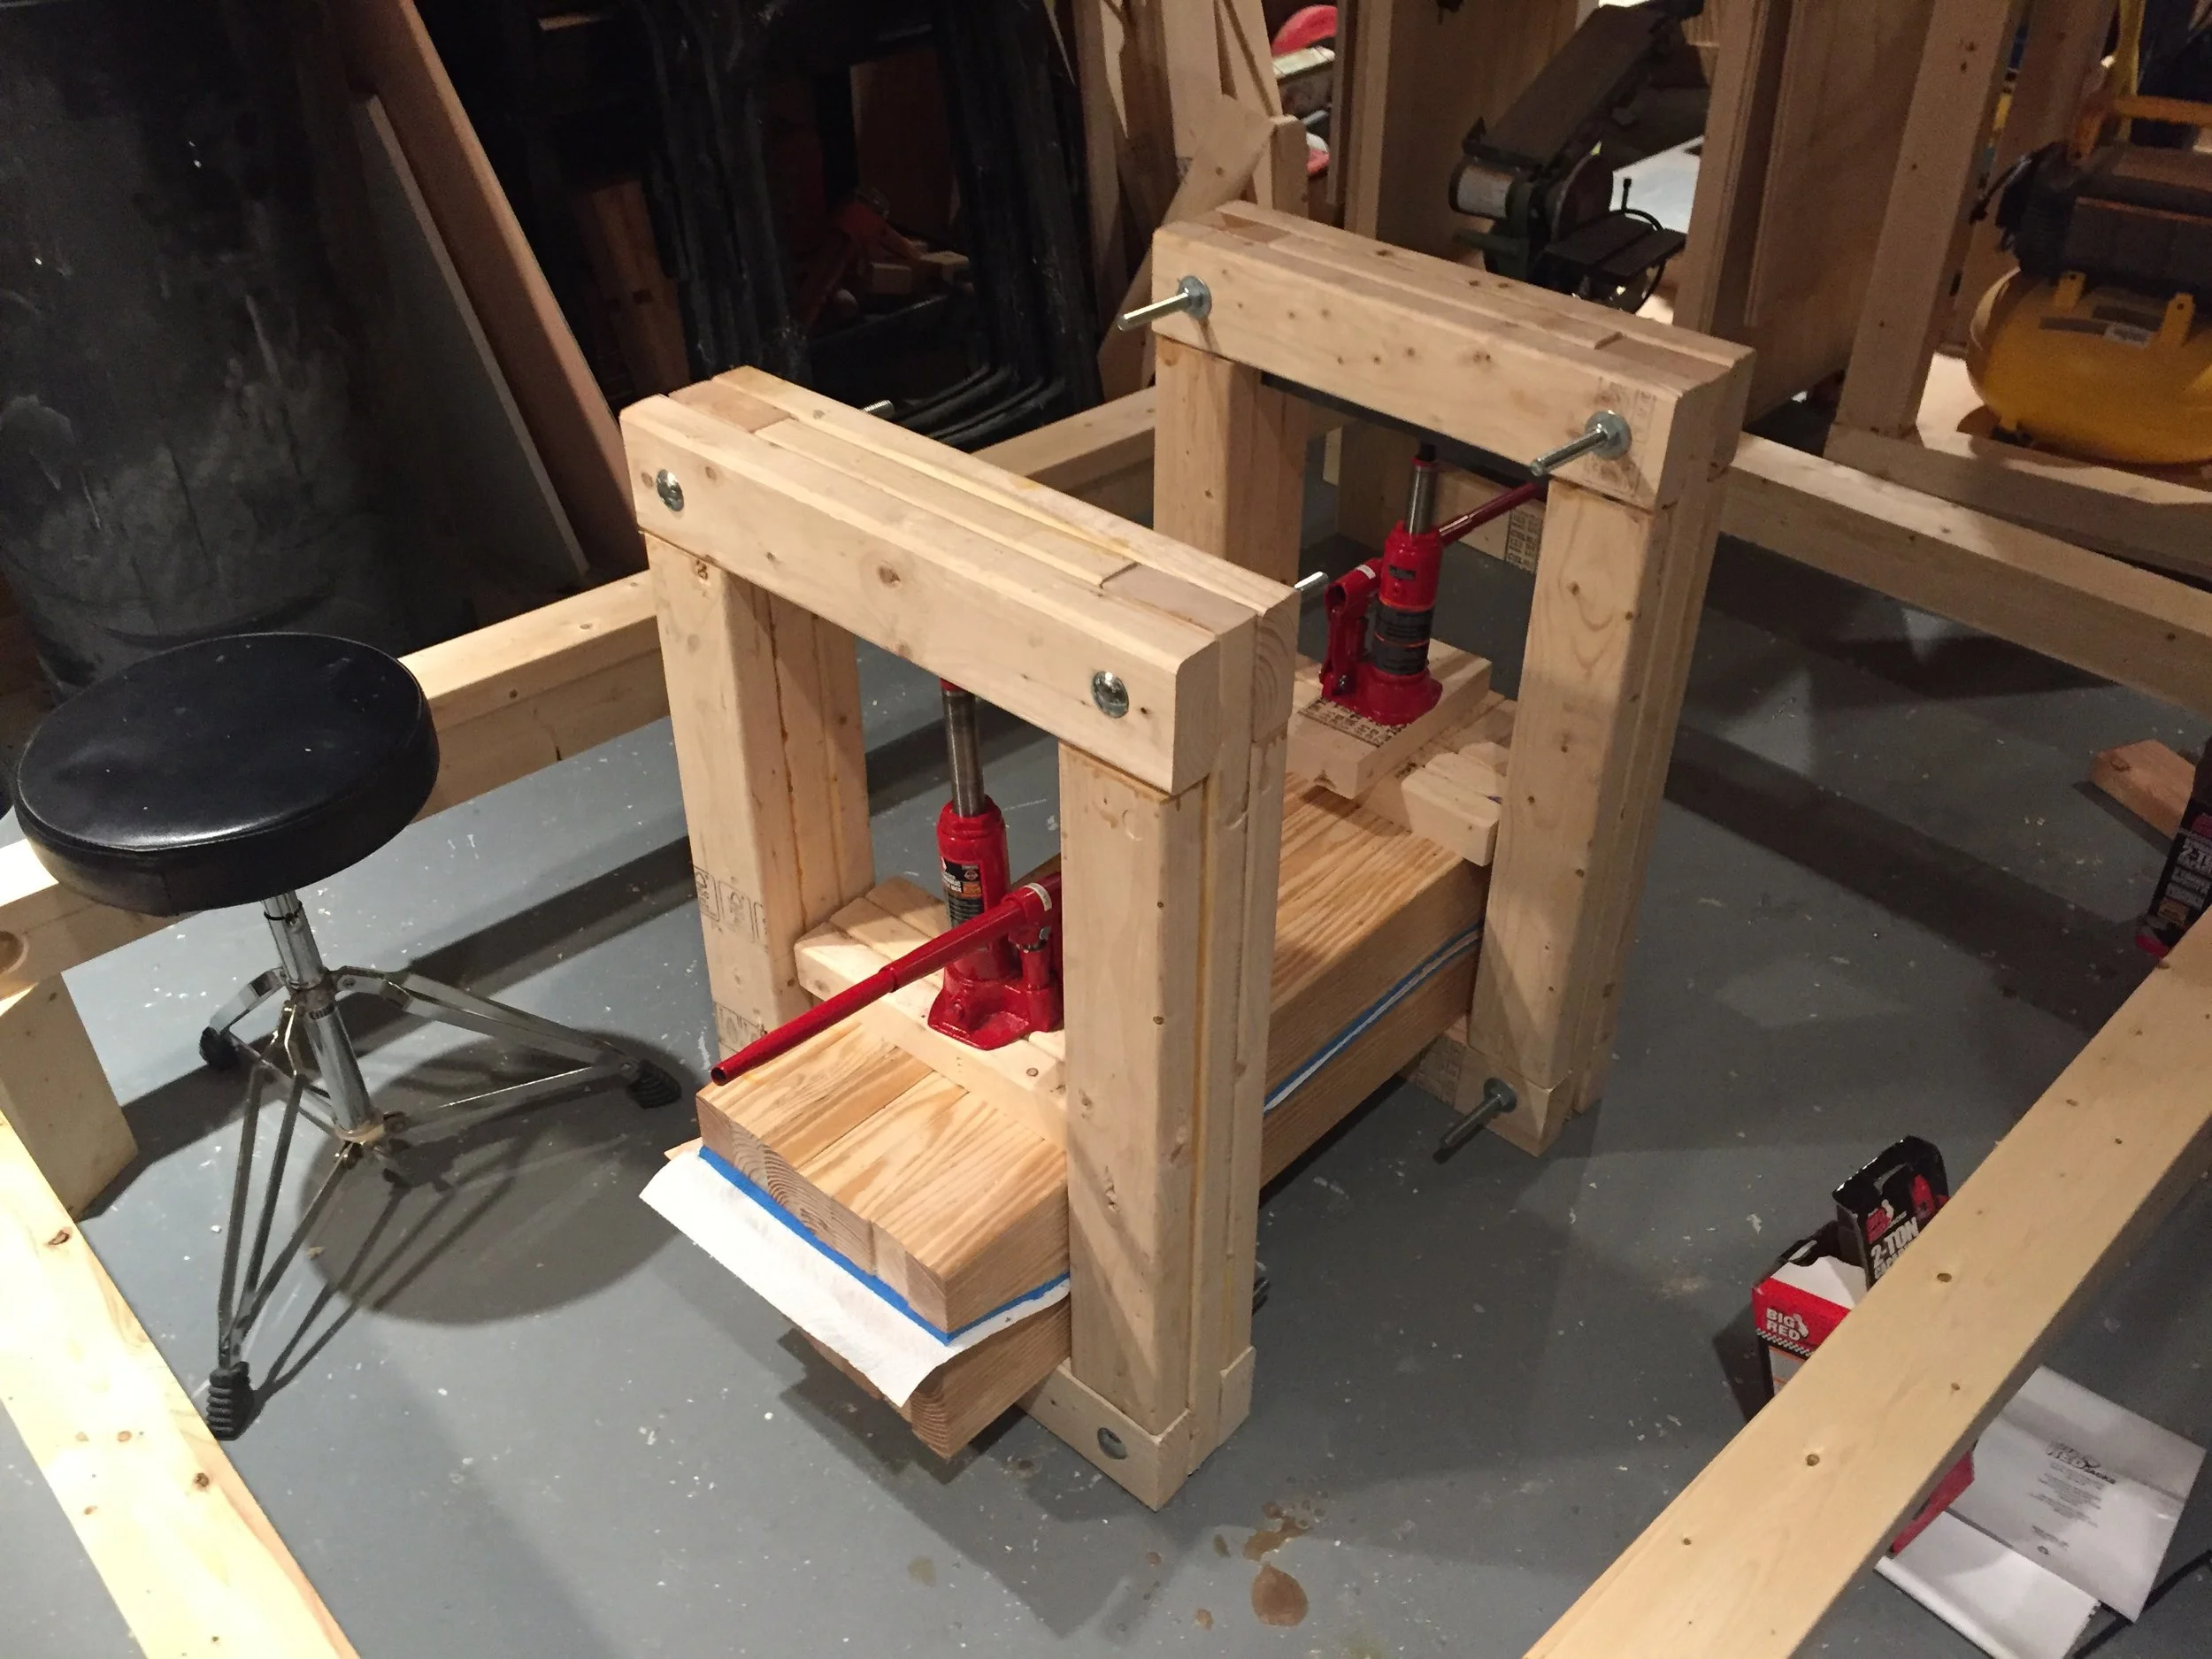
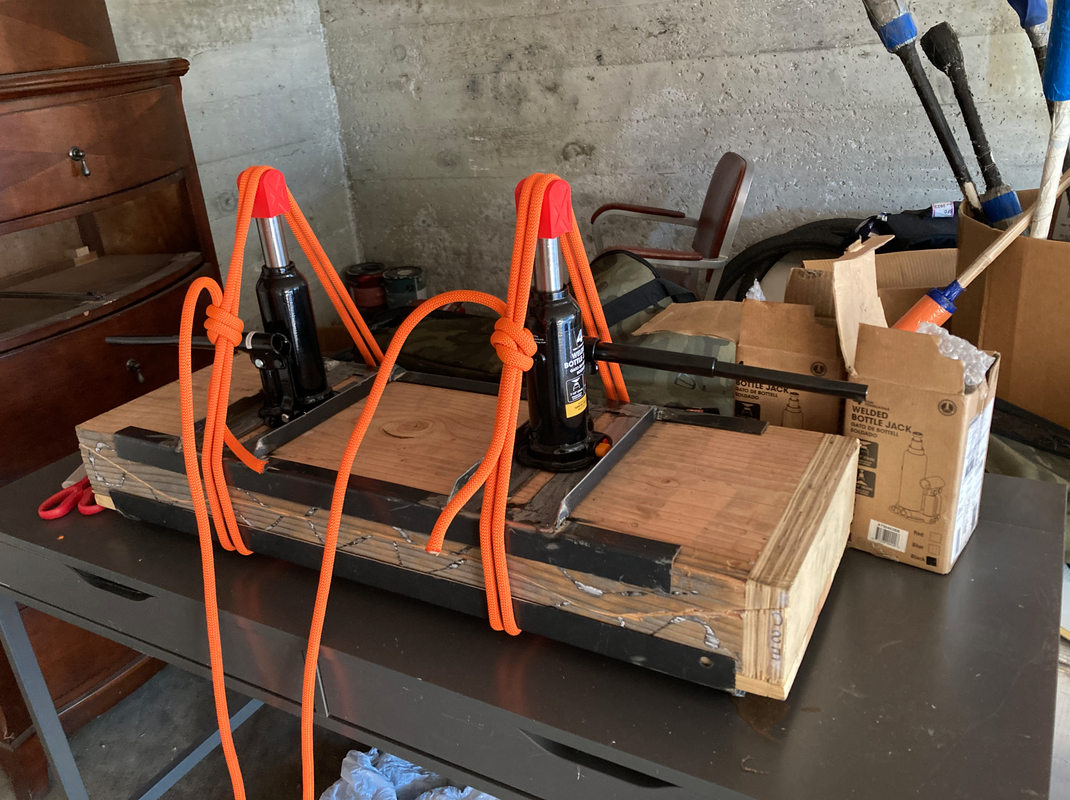
Skateboard press setup, with 8 tons of force between the two hydraulic pump jacks
Cutting
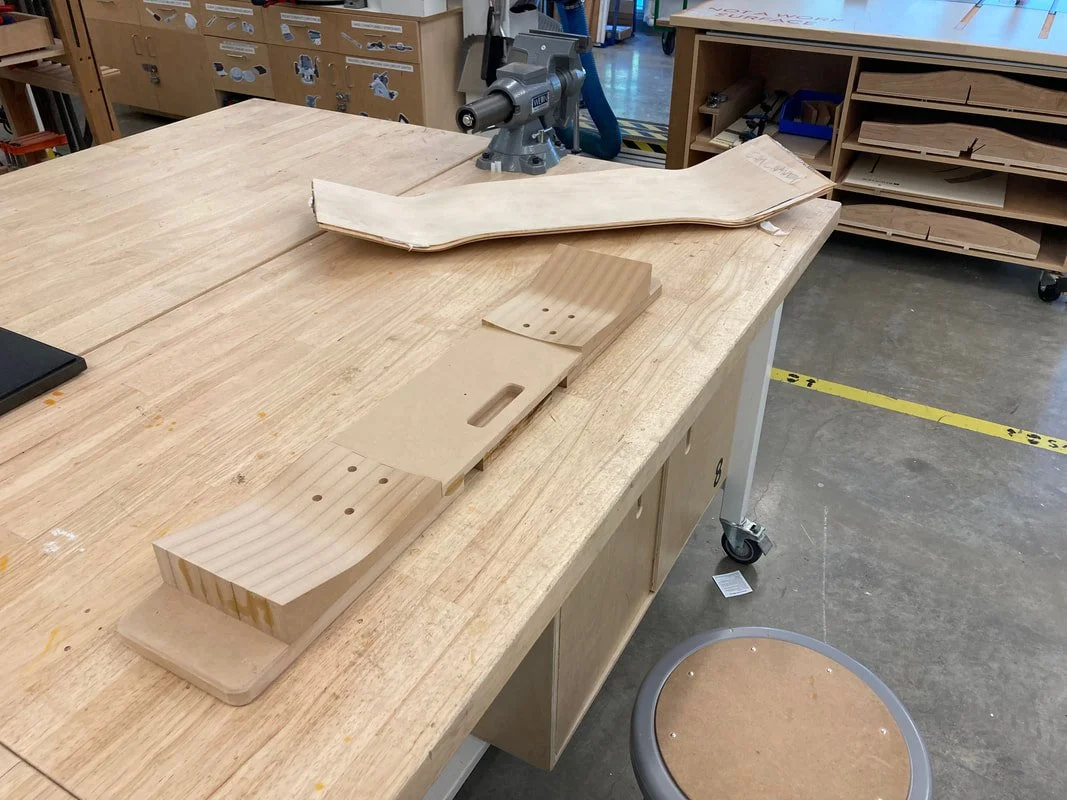
Every skateboard I have made up to now has been cut by hand on the band saw, and drilled using a drill press. Though I designed things like a 3D printed a jig to help with the hole drilling, it is still quite a long and laborious process.
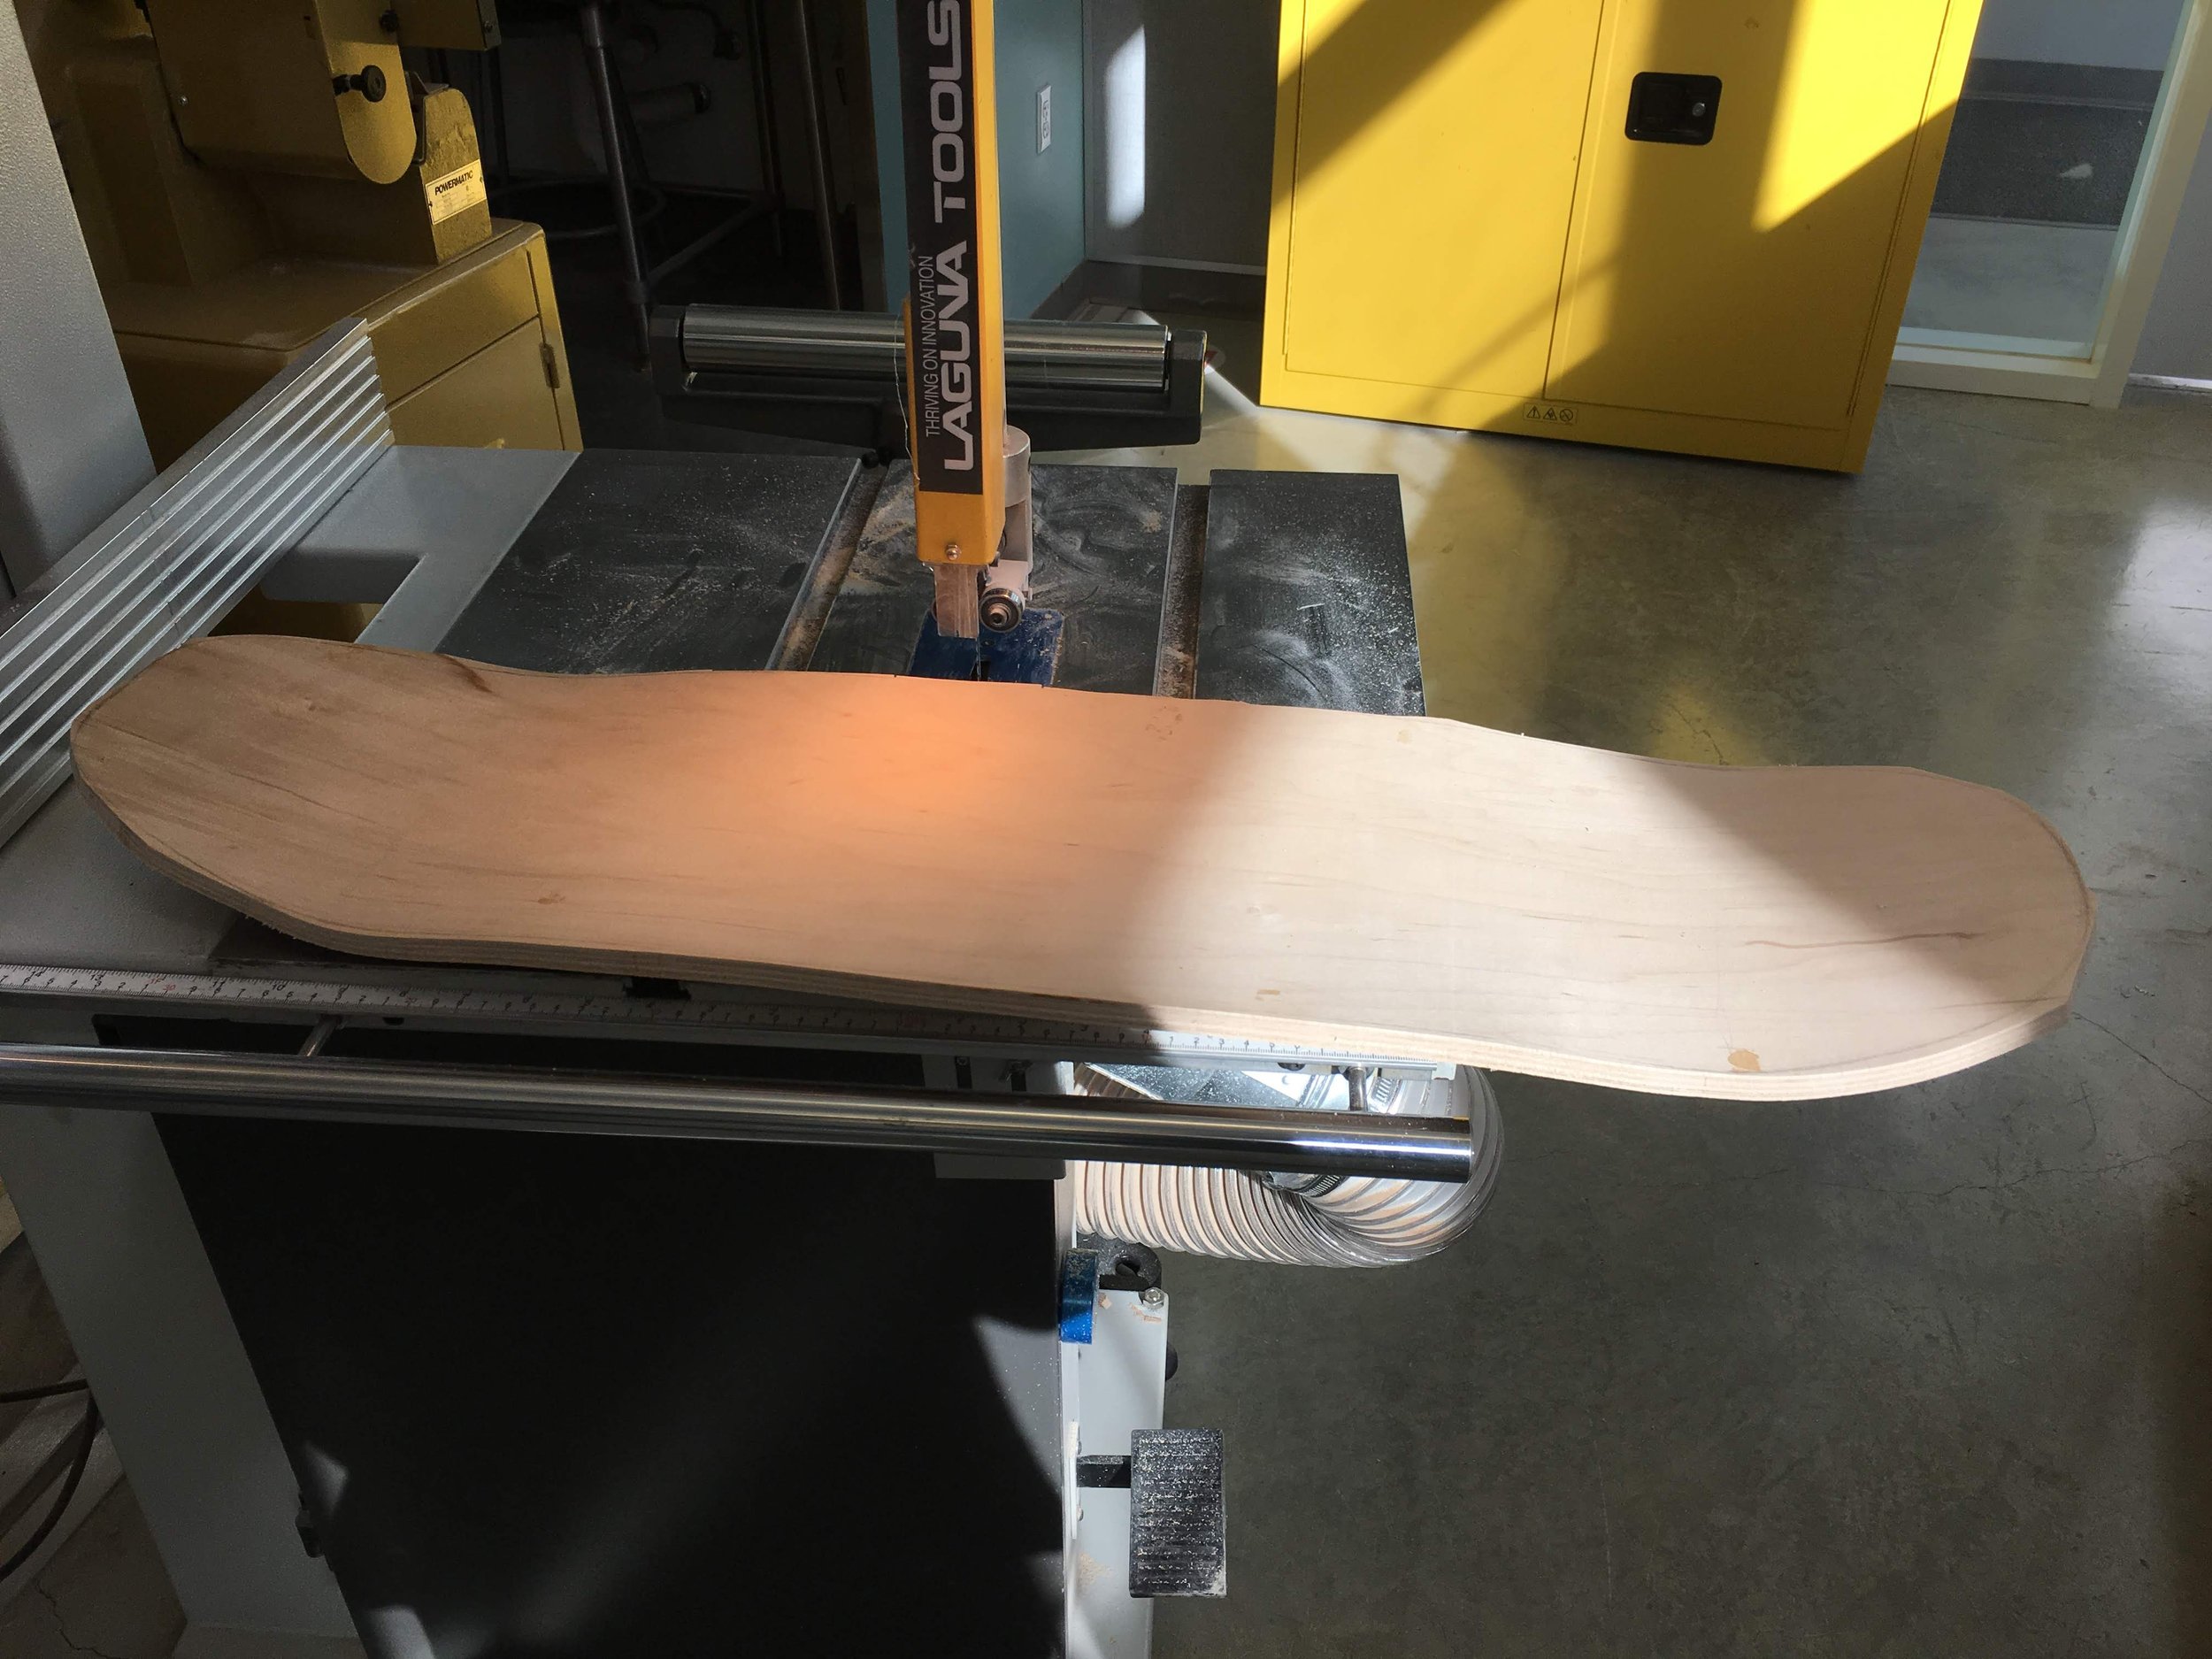
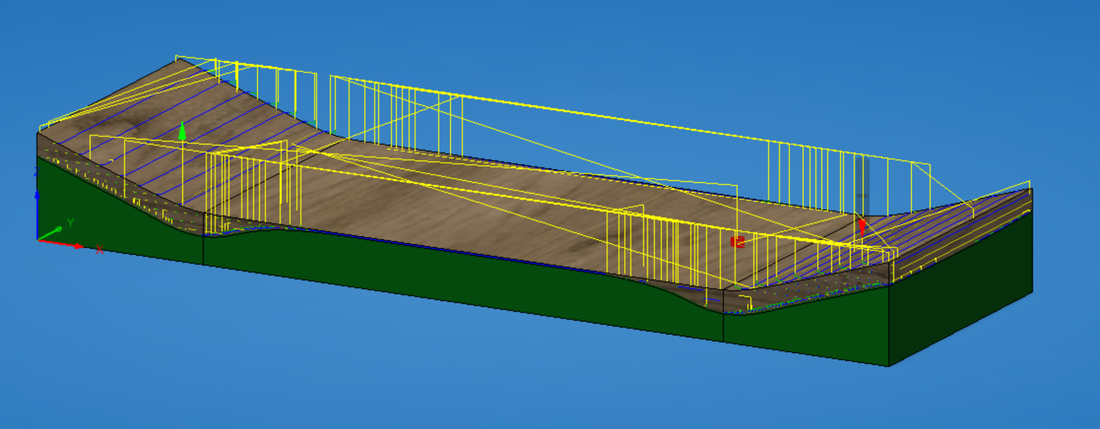
Recently, though, I created a jig that allows me to drill the holes and cut the shape of the board entirely with the Shopbot CNC. This will allow me to not only speed up the process of making boards, but also create more precise and intricate cuts. It is designed so that the blank is initially strapped down for the hardware holes to be drilled, then bolted down to cut the shape. Any shape can be inputted into the CAM software, so there are quite limitless experimentation possibilities.
Step 1: hole drilling
Step 2: cutting the shape